

Create a report
A report shows the recorded history of parameters with the views, layout, and time range you choose. You need the editor, admin, or owner role. Every setting and its default is in Report settings.
Create or edit a report
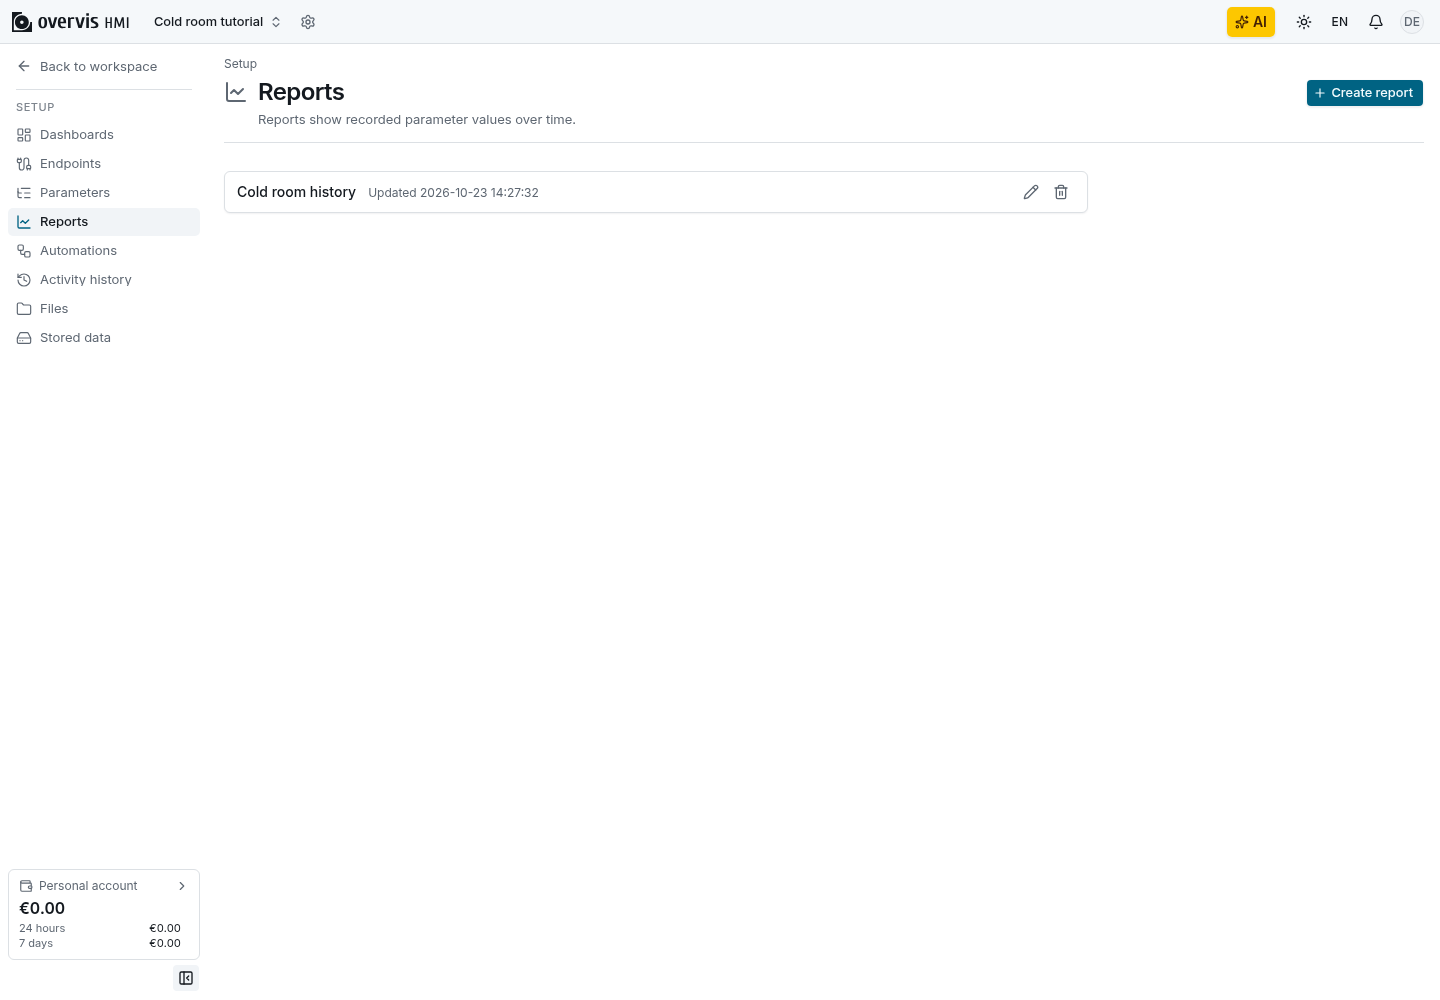
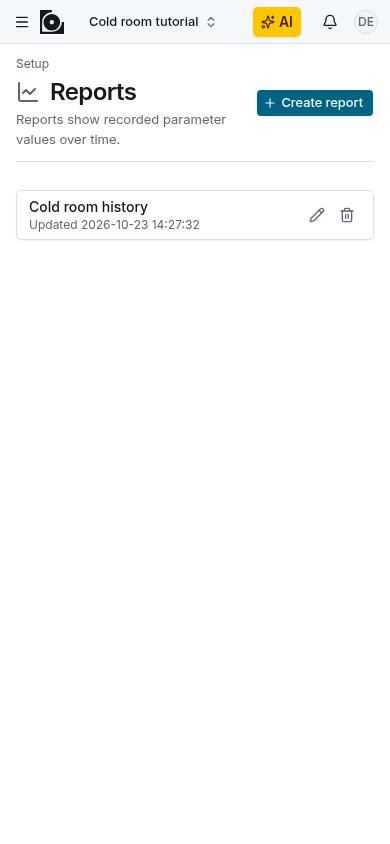
Section titled “Create or edit a report”- Open Setup → Reports and select Create report. To change an existing report, select the pencil button (Edit report) next to it instead.
- Enter a Title and, optionally, a Description.
- Under Parameters, select Add parameters and pick parameters from the parameter tree. Shift+click expands or collapses a whole branch.
- Under Views, select an Add button for each view you need, such as Add chart or Add table, then adjust its settings. Each view has a reference page with its settings.
- Under Layout, arrange the views in rows. Each new view already has a full-width row.
- Set the Default time range and the Timezone. To give every viewer the same day
boundaries, choose Timezone name and enter an IANA name such as
Europe/Warsaw. - Under On the report, turn on the controls viewers need: comments, signing, snapshot sharing, the edit button, or CSV export. For CSV export, also set CSV export settings.
- Select Save. If a numeric field shows an error, correct the value and save again.
To open the report, select its title in the list.
Save a quick report as a regular report
Section titled “Save a quick report as a regular report”A quick report is temporary until someone saves it.
- On the quick report page, select Save.
- Change the settings you need in the editor.
- Select Save. The report keeps its address and appears in Setup → Reports.