

Create and publish dashboards
This guide takes a dashboard from a new catalog entry to operators using it. You need the Editor, Admin, or Owner role. The catalog fields, templates, and build rules are in the dashboard host contract.
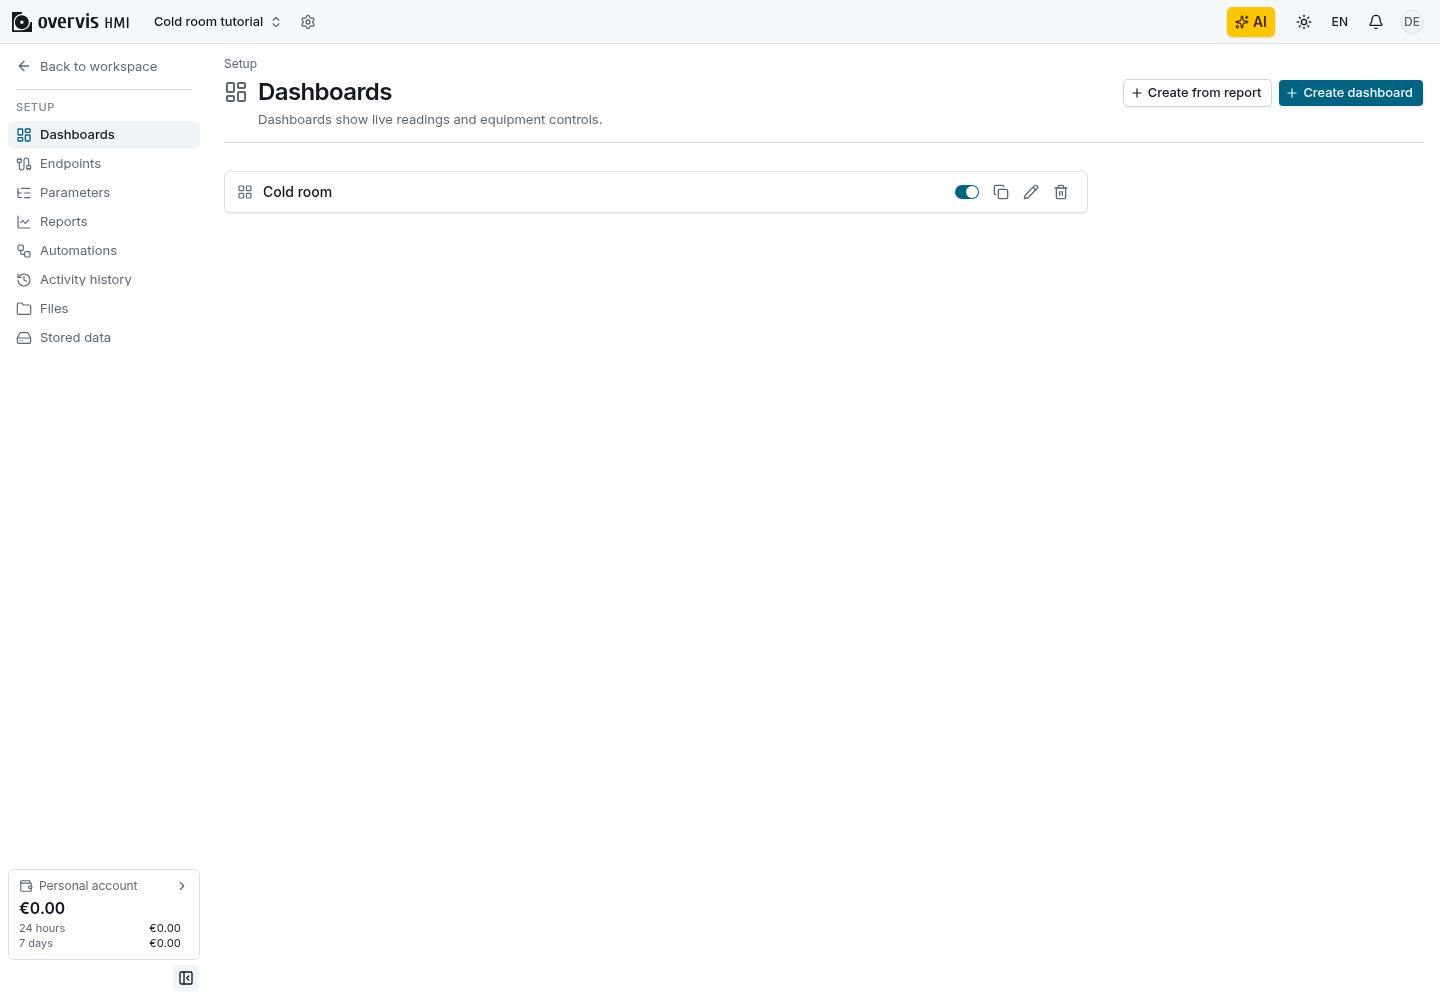
Create a dashboard in Setup
Section titled “Create a dashboard in Setup”- Open Setup → Dashboards and select Create dashboard.
- Choose a Template: Empty (the default) for a React dashboard, Canvas for a drawing, Map for named sites, Value tiles for a board without code, or Document for a document of text, figures, tables, charts and inputs without code. The template’s description appears under the field.
- Enter a name (1–100 characters) and create the dashboard.
- To show an existing permanent report instead, select Create from report and pick the report. The dashboard shows the report as soon as it is created. If the report is deleted later, the dashboard stays and shows an error notice.
- Optionally set the description, icon, and configuration in the dashboard’s settings.
A new dashboard is not a finished device HMI. Bind its parameters, and for the Empty template
edit its sources, before you hand it over. Creating it in Setup does not create files on your
computer: pull the workspace before you edit src/dashboards.
A dashboard made for one device model is not in the template list. Ask the assistant to add one, before the device’s parameters exist if needed. It shows an incomplete-configuration state until its bindings are complete.
To create dashboards through the API, see dashboard.create in the
procedure list and
dashboard templates.
Duplicate a dashboard
Section titled “Duplicate a dashboard”- Select Duplicate beside the dashboard in Setup → Dashboards, or in the dashboard’s Dashboard actions menu.
- Change the prefilled name if you want, and select Duplicate. The copy opens.
The copy works without rebuilding but uses the same equipment and parameters: a control in the copy
writes to the same equipment as the original. Change its configuration if it should show other
equipment. Through the API, call dashboard.copy with { id, name }; it copies the latest saved
state. The assistant can also duplicate a dashboard.
Develop the dashboard locally
Section titled “Develop the dashboard locally”-
Mint a pull command in Workspace settings → General under Develop locally, and run it from an empty parent folder:
Terminal window pnpm dlx overvis-hmi pull <token>See Pull a workspace.
-
In an existing checkout, run
pnpm hmi pullto bring in dashboards created in Setup. Until you do, the local host runs their published build with a warning. -
Edit
src/dashboards/<id>/, as described in Develop a dashboard locally. -
Run
pnpm hmi statusto list local changes and conflicts.
For a template board whose code you do not change, editing its configuration in Setup is enough.
Editing setup.db directly with hmi sql also works, but operators still need valid sources and a
build to load the dashboard.
To add a dashboard while you work locally, create it in Setup and pull; see Add dashboards and other entities. Setup writes the template’s files for you.
Publish
Section titled “Publish”- Check the dashboard before you push:
- It is enabled.
- Its default export accepts
DashboardRootProps, and it bundles no second React. - Its configuration keys are described in its configuration schema.
- The parameters it polls exist and are enabled.
- Run
pnpm hmi push. It builds the dashboards, runshmi check, and uploads your changes; seehmi push. Other changed entities, such as parameters, are pushed in the same transaction, so push only changes you mean to publish. To see what would be published first, runpnpm hmi push --dry-run. - If the build or the check fails, fix the reported errors, run
pnpm hmi buildandpnpm hmi check, and push again. Nothing is published until the build succeeds. - Open the dashboard at
/workspace/<workspaceId>/d/<dashboardId>. In a browser that already had it open, refresh the page to load the new build. - Check light and dark themes and each language the dashboard declares. A passing build does not check rendering or device behavior; see Check before handing over.
Manage the catalog
Section titled “Manage the catalog”- To rename the dashboard or change its icon, description, or configuration, open Dashboard actions → Edit settings, or the dashboard’s row in Setup → Dashboards.
- To hide a dashboard from operators without deleting it, turn off its switch in Setup → Dashboards. It keeps its place in the catalog and its direct URL.
- To change the sidebar order, drag a row’s grip in Setup → Dashboards.
- To delete a dashboard, select Delete dashboard and confirm. The next
pnpm hmi pullremoves its files undersrc/dashboards/<id>/; files you changed locally are kept as conflicts.
Recover from a failed push
Section titled “Recover from a failed push”Every catalog edit in Setup advances the workspace setup revision. A push fails with
push_conflict when it touches entities or files that changed in the cloud since your last pull.
- Run
pnpm hmi pull. It takes the changes you did not touch and keeps yours; items changed on both sides become conflicts. - Settle each conflict with
pnpm hmi resolve … --oursor--theirs;pnpm hmi statuslists them. See Resolve sync conflicts. - Run
pnpm hmi pushagain.
| Symptom | Fix |
|---|---|
push_conflict after a UI edit | Pull, resolve, then push again |
| Local module missing warning | Pull, so src/dashboards/<id>/index.tsx exists, or use the published build |
| Operators see the old UI | Refresh the page; reopening the dashboard in the same tab keeps the old build |
| Build or check fails on push | Fix the errors; run pnpm hmi build and pnpm hmi check |
| ”Dashboard needs a rebuild” | Update the HMI packages, then run pnpm hmi push, which rebuilds the dashboard |