

Get help from the assistant
Ta treść nie jest jeszcze dostępna w Twoim języku.
These steps get answers and changes from the in-app assistant. How the chat behaves, including levels, Auto-allow, and the message queue, is in Assistant chat. For a guided first run, follow Use the Overvis HMI assistant.
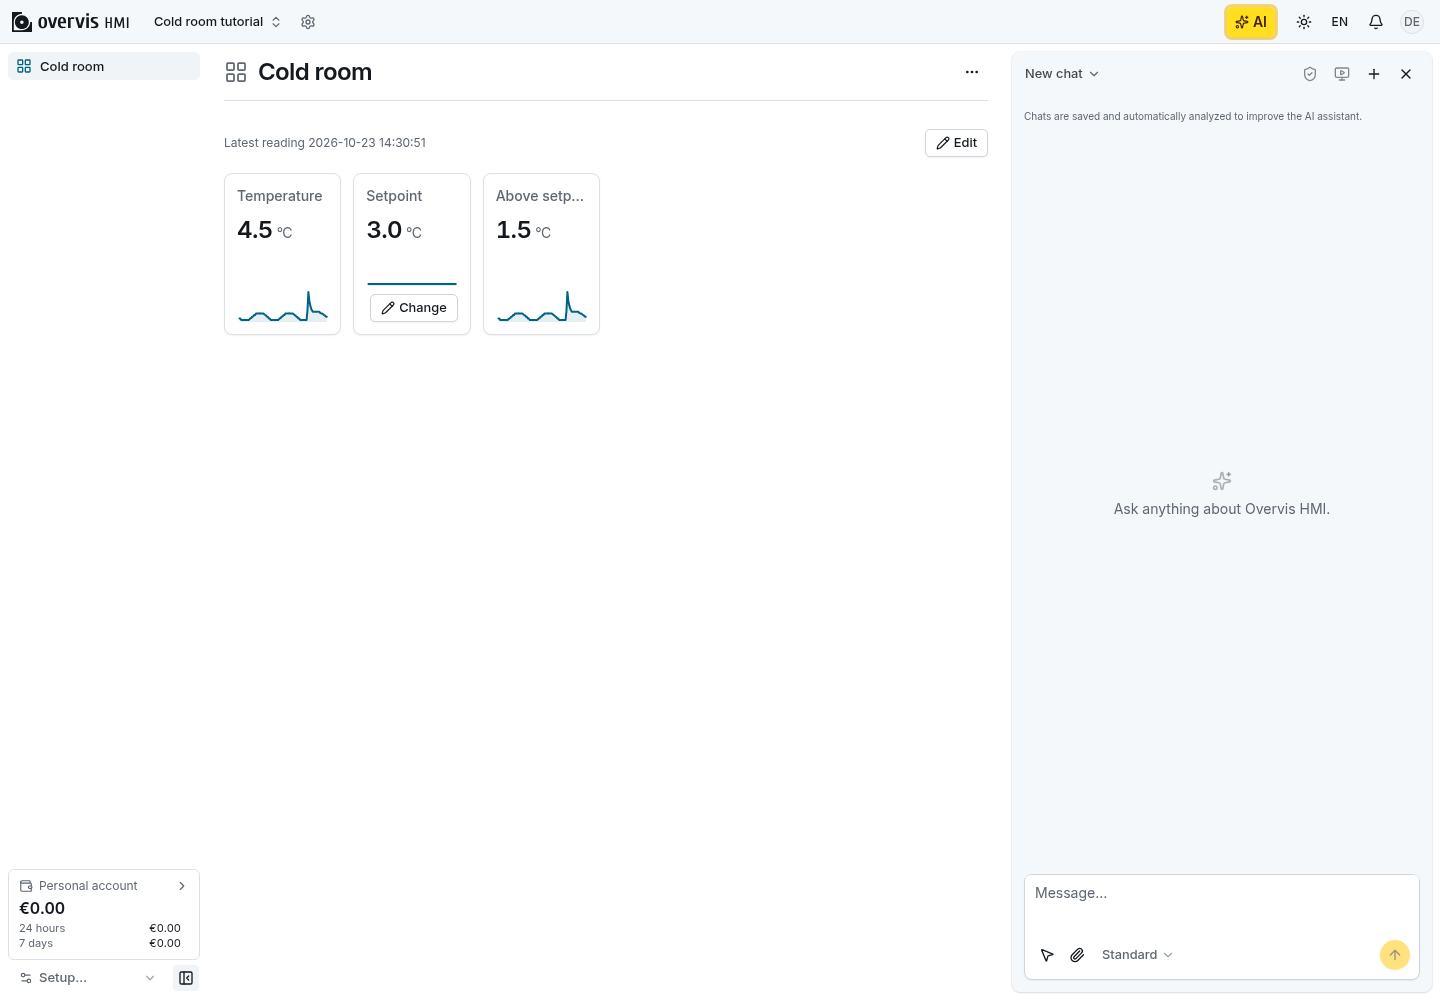
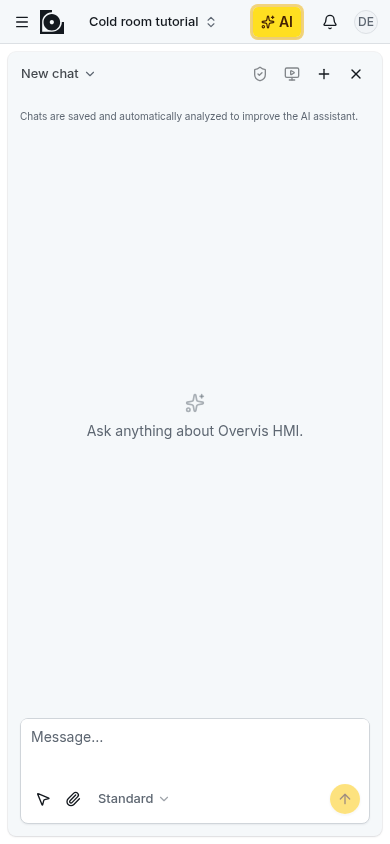
Ask a question
Section titled “Ask a question”- Open the workspace page related to your question.
- Select AI in the application header.
- Describe the result you need and name the device, parameter, endpoint, or dashboard. Say whether
you want an explanation or a workspace change. For example:
Why is Supply voltage stale, and what should I check? - If the question concerns one visible control or value, select the pointer button beside the chat input, then click the control. To add a screenshot of it, hold Shift while clicking.
- Send the message. Do not paste API keys or passwords.
To get advice without changes, say so:
Explain how to add the OB-215 template; do not change the workspace. For an answer in chat
instead of a dashboard page, ask for it.
View diagrams and images
Section titled “View diagrams and images”When a flow, message sequence, wiring, or state machine is easier to follow as a picture, the assistant draws a diagram in the chat, scaled to fit. Show source below a diagram displays its text. If a diagram cannot be drawn, the chat shows its text with a note.
- Select a diagram or Open full window below it, or select an attached image.
- Switch between Fit to window and Actual size. To save the file, select Download for an image or Download SVG for a diagram.
- Close the view to return to the chat.
Diagnose a failure
Section titled “Diagnose a failure”- Name the affected value, endpoint, or dashboard and describe what you expected.
- Let the assistant inspect values, connection errors, and dashboard bindings, and review the fix it proposes.
- After the fix, check the affected Setup page or live value. If the result is not what you wanted, describe what you see now instead of repeating the request.
Attach a document or a web page
Section titled “Attach a document or a web page”- Select a workspace. You need the editor, admin, or owner role.
- Attach the file with the chat’s paperclip, or drop it onto the message box. To attach a folder, zip it first. You can also upload it with Setup → Files → Upload and name it in the chat.
- Send the message with your question.
To give a web page instead, paste its HTTPS link. If the assistant cannot read content that the page loads with JavaScript, attach a downloadable manual instead.
Approve or limit changes
Section titled “Approve or limit changes”- When an approval card appears, check the workspace, the affected items, and the values.
- Select Allow to run the action, or Don’t allow if the scope is wrong. To approve all later actions of the same category in this chat, use the arrow next to Allow.
- To let the assistant run a category without asking, open Auto-allow in the chat header and select the category. To ask again, clear it.
- To cap what one request can cost, enter an amount in Account settings → Assistant spending limit.
Watch a dashboard draft
Section titled “Watch a dashboard draft”- Select the monitor icon in the chat header (Watch assistant preview).
- To close the preview, select the icon again. On a phone, select Back to chat.
- To interrupt the assistant, select Stop. The draft stays.
Get a file the assistant prepared
Section titled “Get a file the assistant prepared”Open Setup → Files and select the file name. On an empty workspace, Manual setup opens Setup; on a dashboard, use Setup… in the sidebar, or the header menu on a phone.
Recover from a stopped reply
Section titled “Recover from a stopped reply”- If a reply reaches the server’s time limit, ask the assistant to proceed in the same chat.
- If the chat says the model provider declined the request, send it again, or choose another level in the composer’s level menu and send it again.
- If the chat says the provider is overloaded, wait a few minutes or choose another level.
- If the reply is marked as incomplete, select Continue.
Try a message again
Section titled “Try a message again”- If the assistant is working, select Stop.
- Hover over your message and select Rewind to here. On a phone, it is under the message.
- To also undo the assistant’s setup changes since that message, select Also revert workspace setup and review what each workspace’s revert changes.
- Select Rewind. Edit the message, which is back in the input, and send it.
The details are in Rewind.
Report an assistant problem
Section titled “Report an assistant problem”- Scroll to the top of the chat. For a past chat, select it from history first.
- Copy the Chat ID with its copy button.
- Include the ID in your report so support can find the conversation; see Troubleshooting.